Night Stories #01 - The Cave Shot
Recently I shared on my social media the image below. I got very nice comments from people and friends which is always nice when you’re putting your work out there. As I described in my post, the shot is a bit complicated.
The story
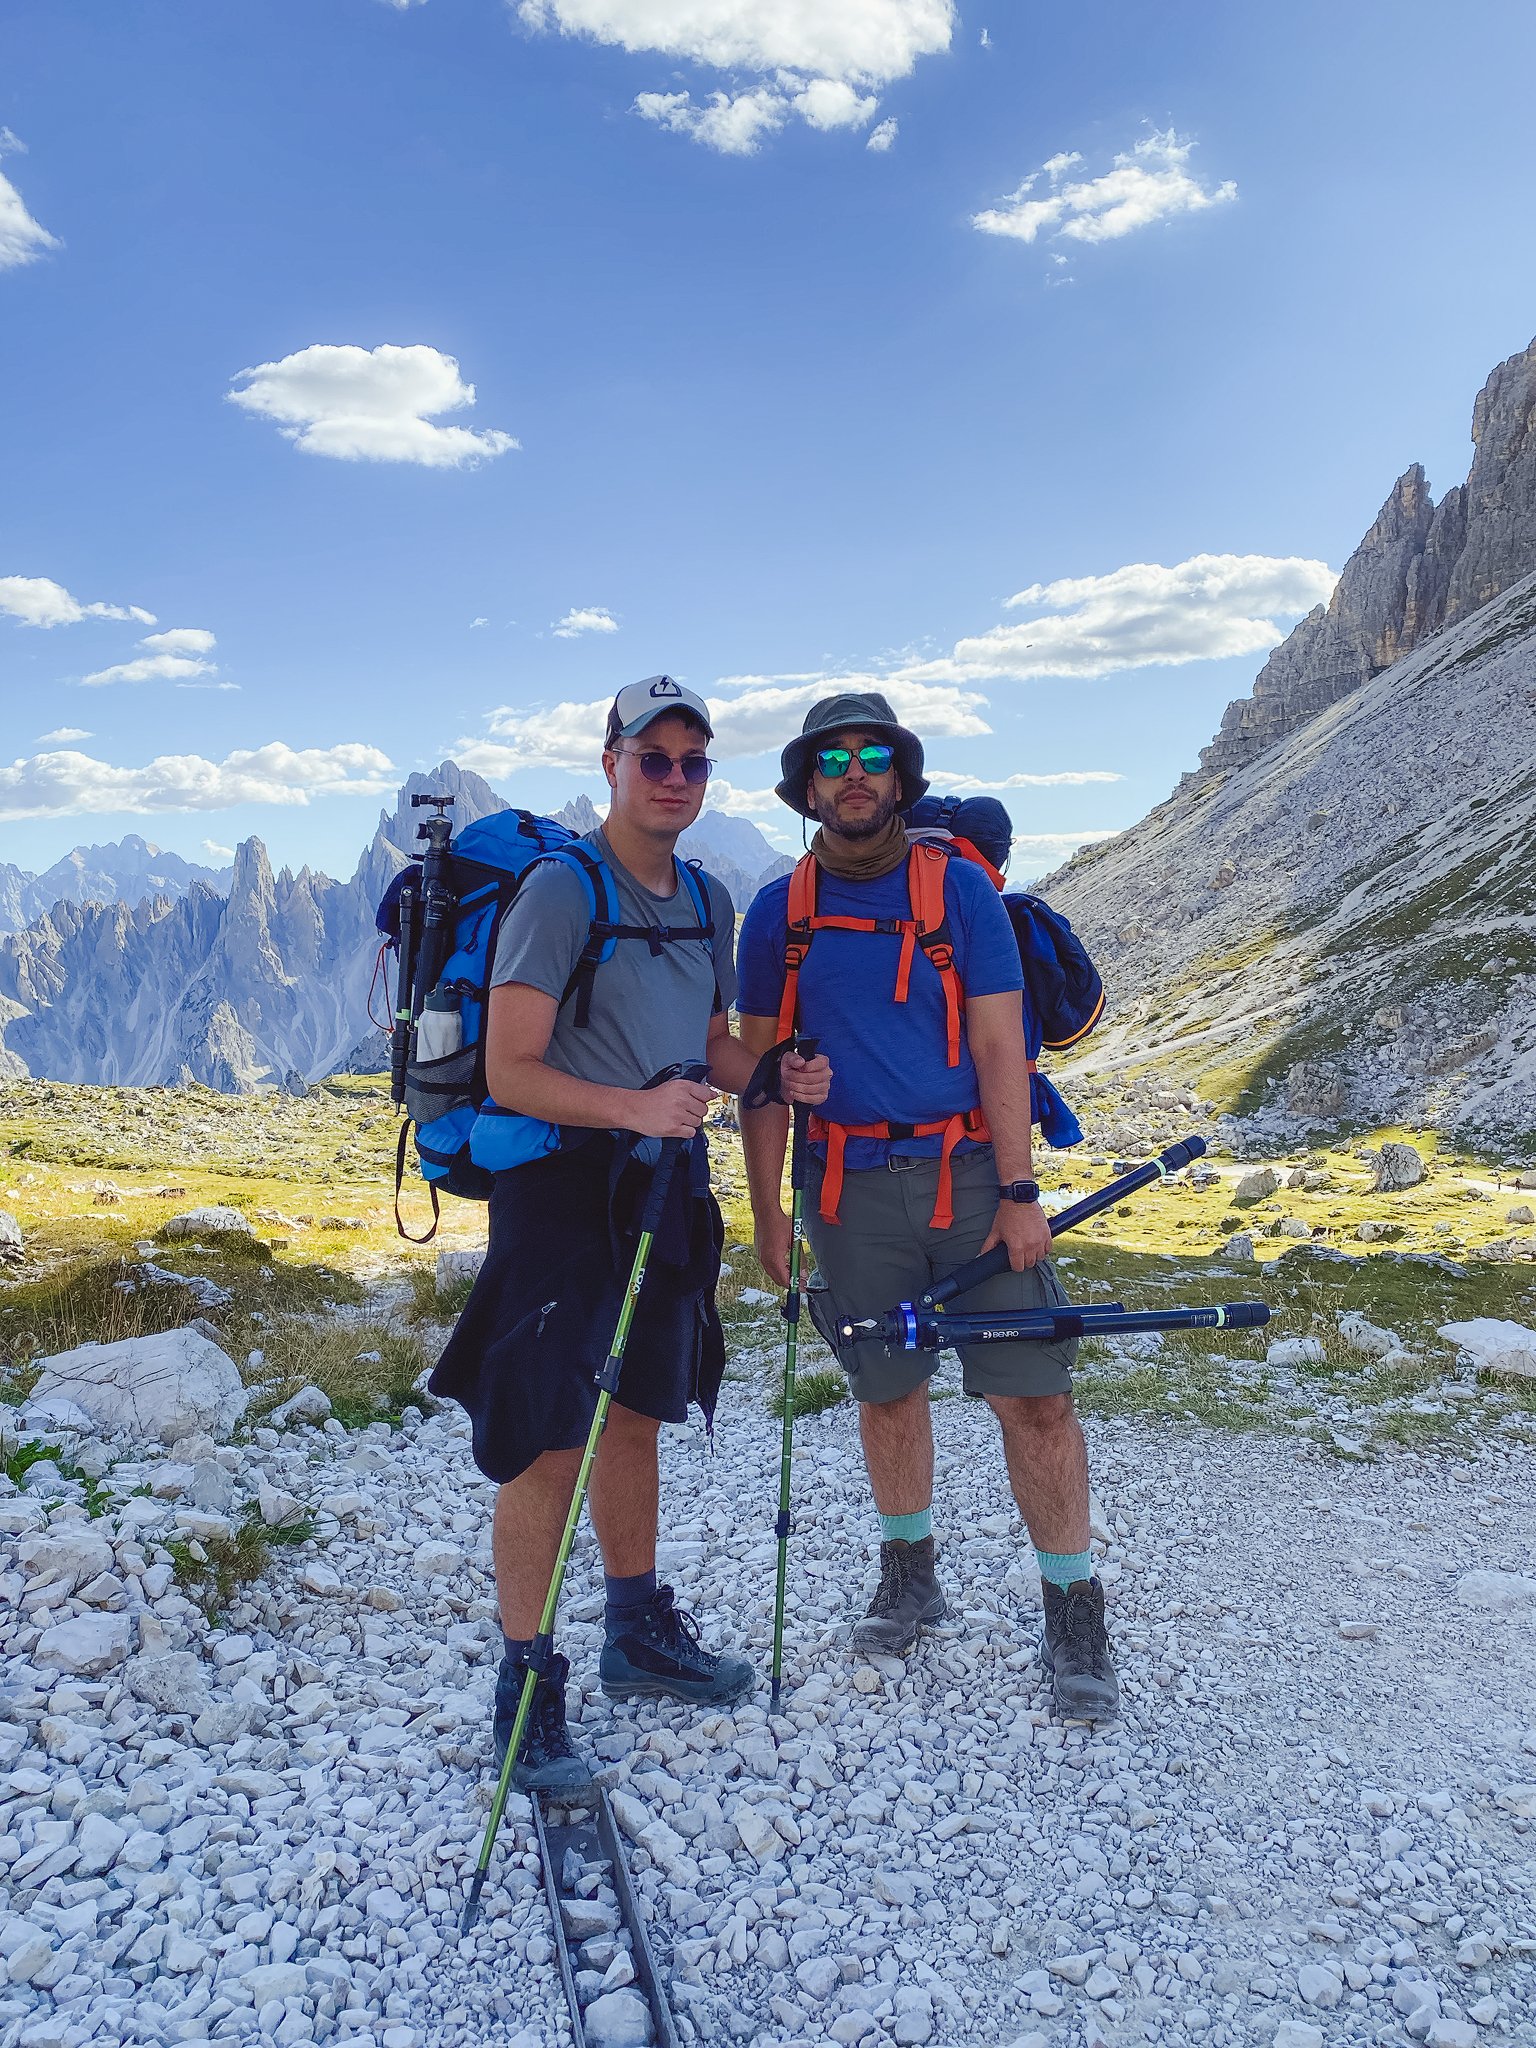
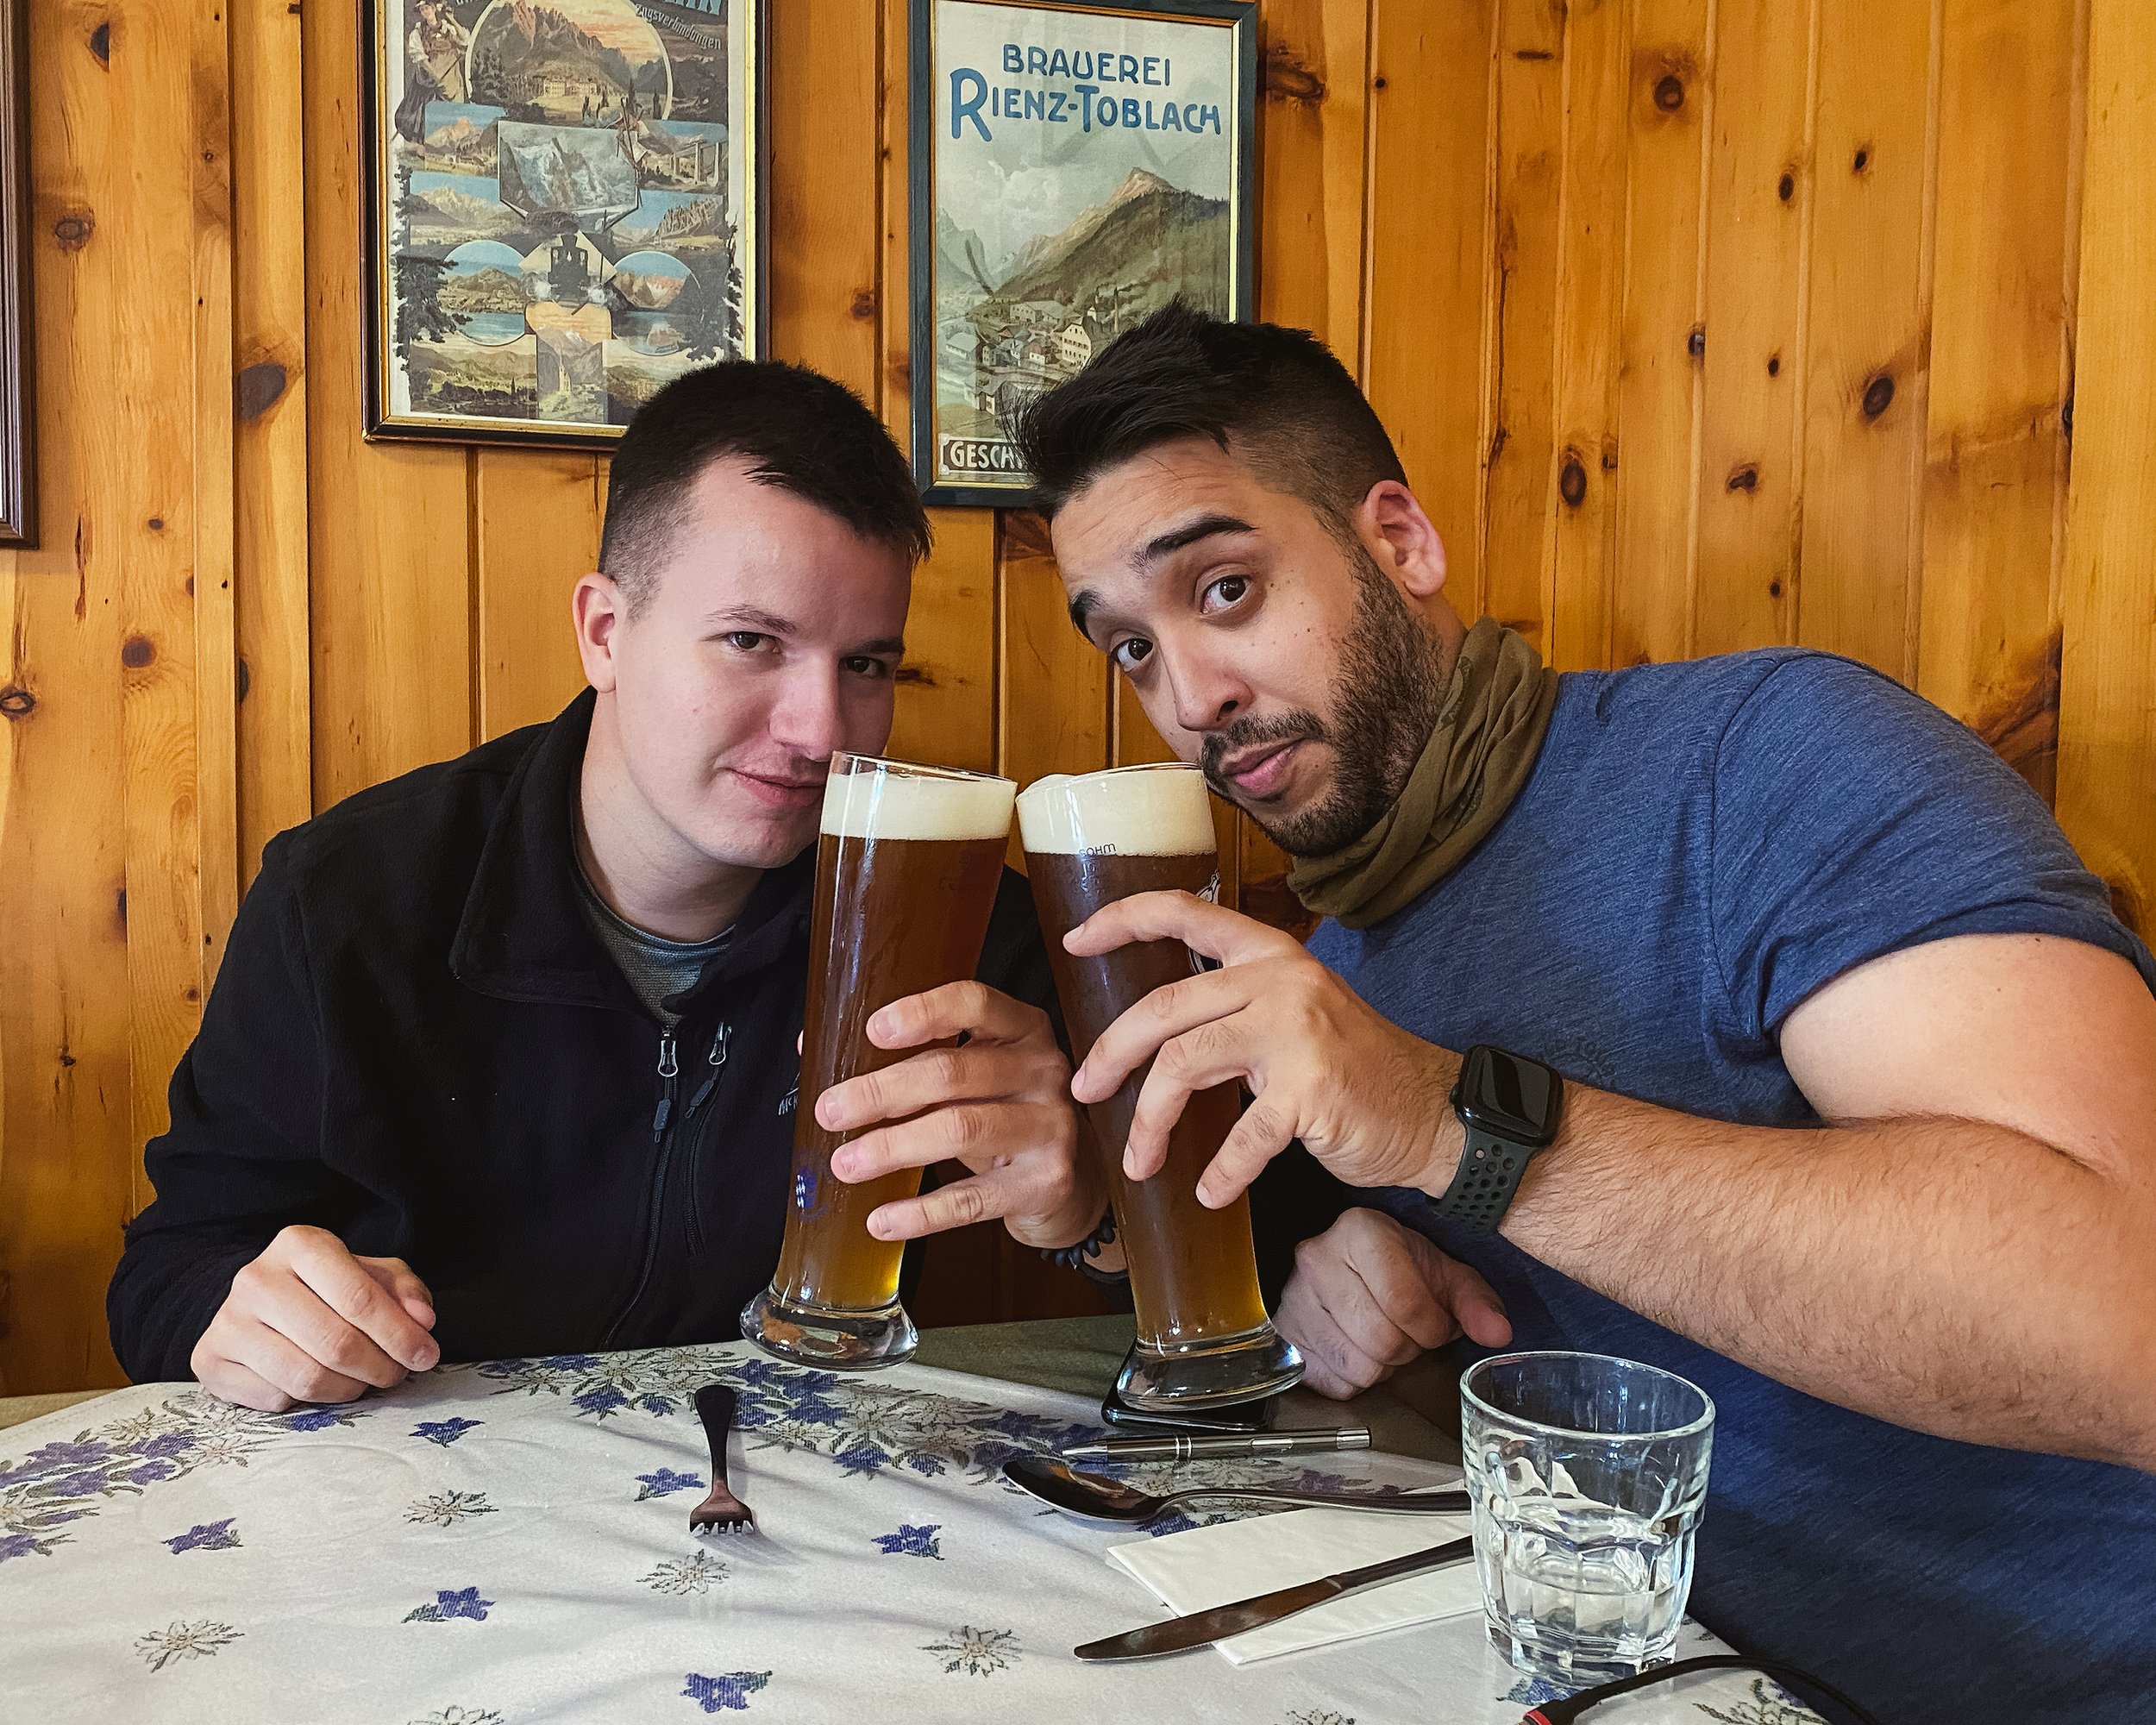
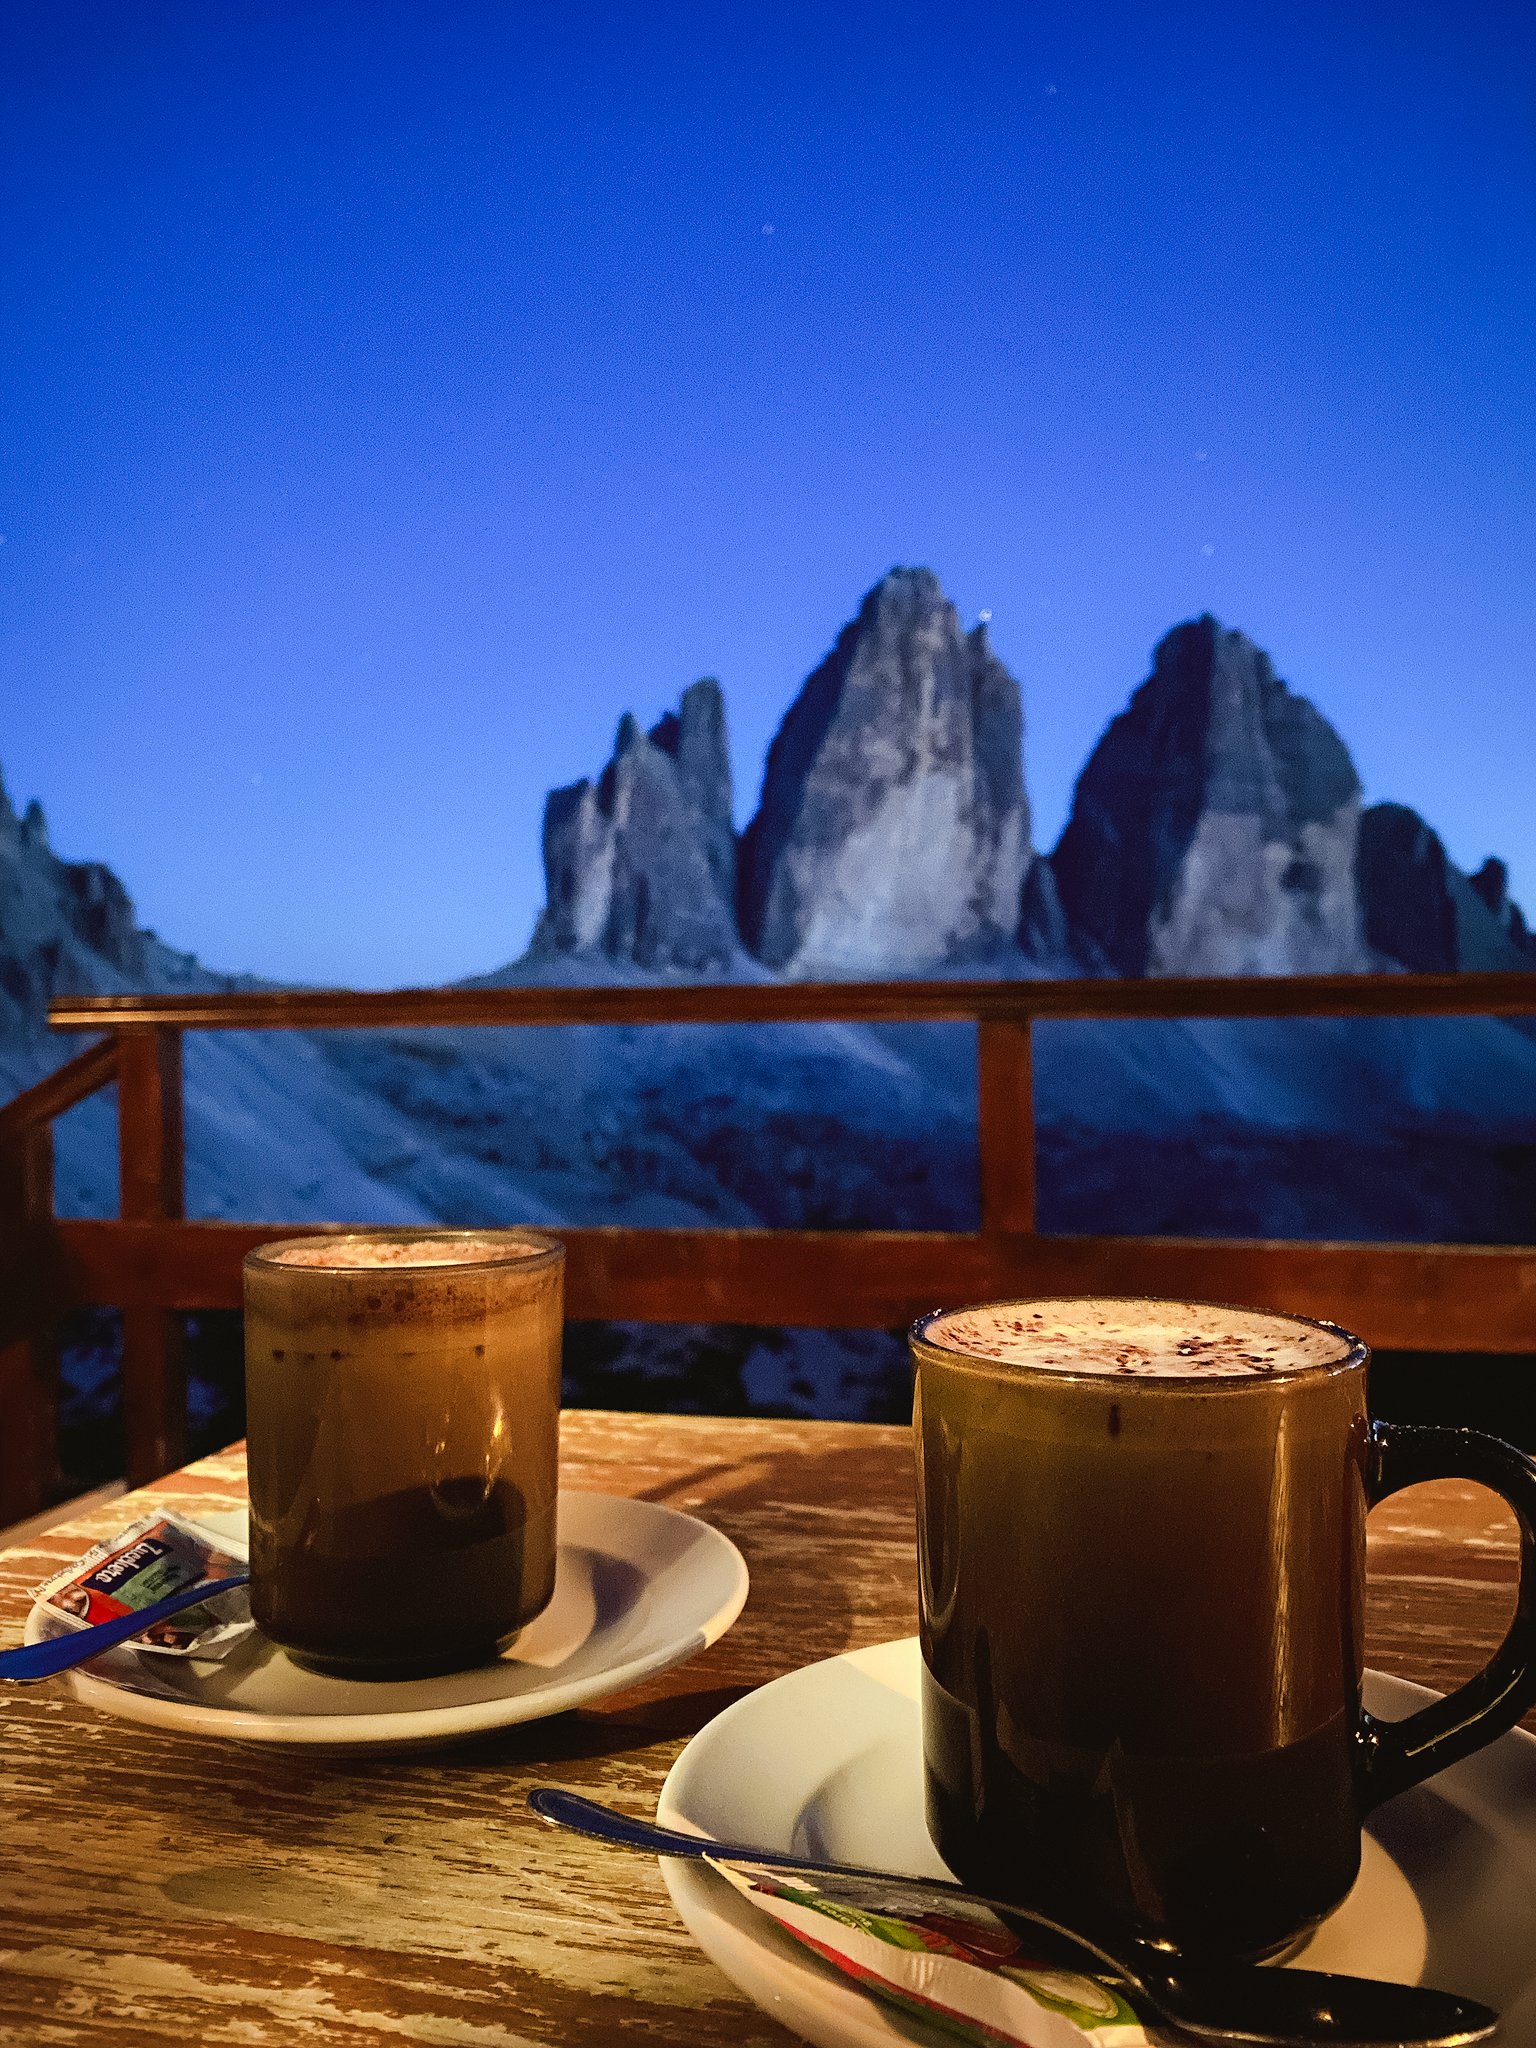
In 2022, we embarked on yet another trip to the Italian Dolomites. If you’re not familiar with the region I’ll try to describe it in one sentence. A paradise for nature lovers. The mountain range offers some of the best views of jagged peaks, alpine lakes, vast plateaus, huts and very very very good food. The iconic place of the Dolomites is Tre Cime di Lavaredo (or Cavaliero as Sotiris, my buddy on the left, says it…don’t know why :P). The three peaks are surrounded by hiking paths that you can follow and enjoy the scenery.
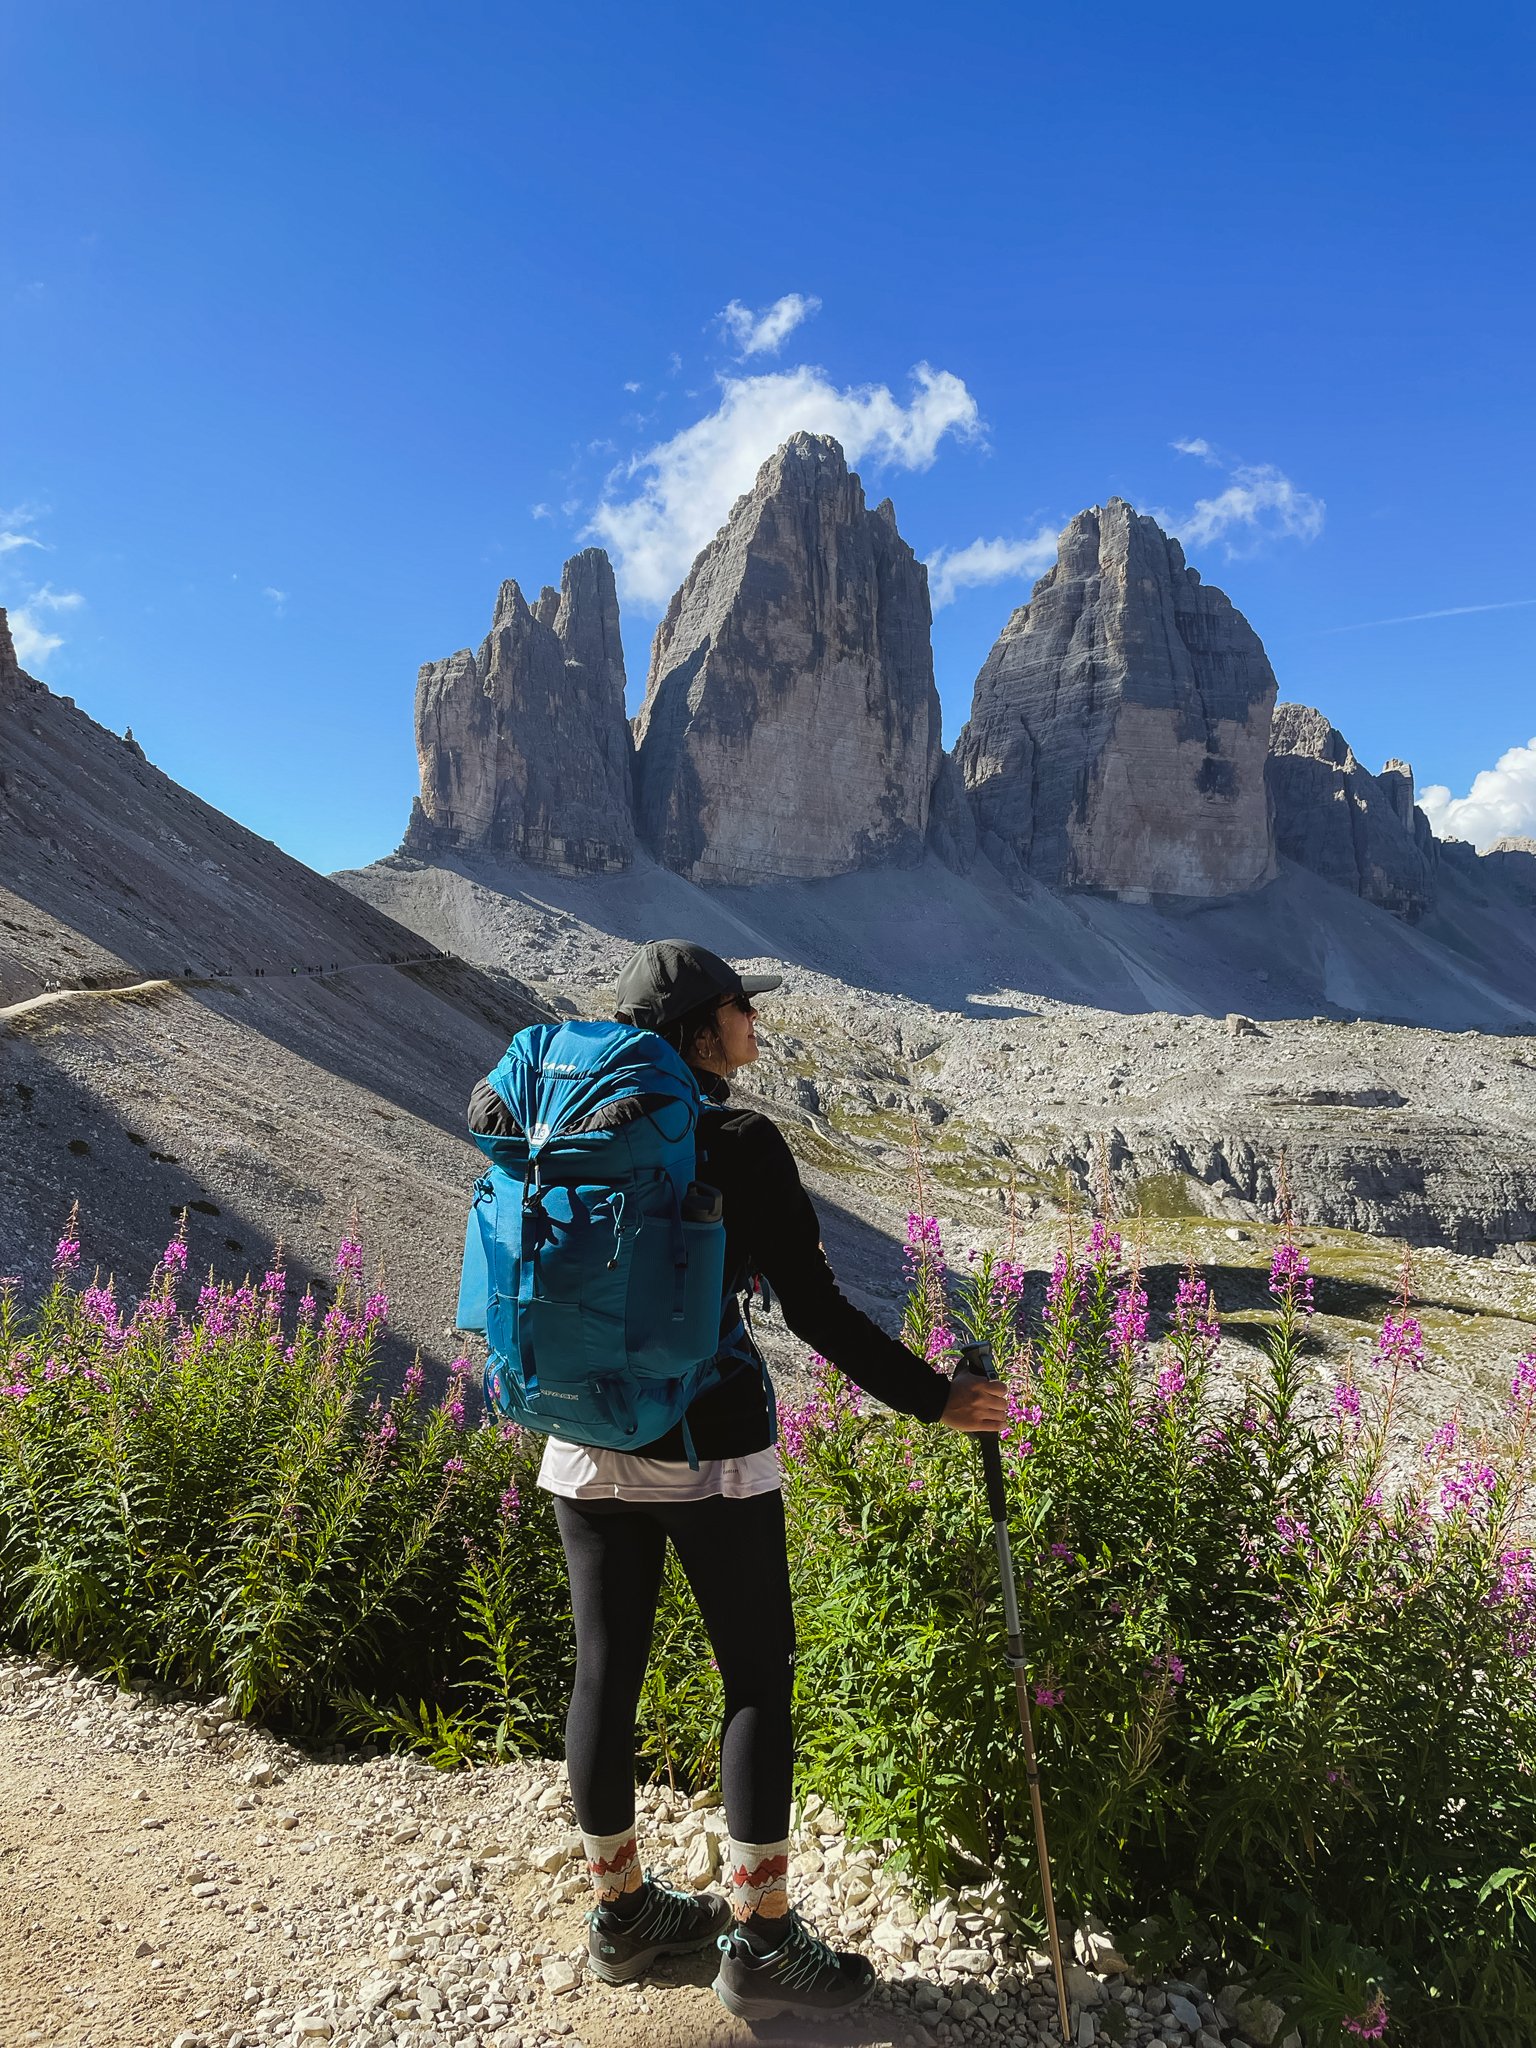
We chose the path that starts from Rifugio Auronzo and leads to Rifugio Locatelli, our hut for two nights. The hike itself is one of the best as you constantly get to see the breathtaking beauty that makes the location so idyllic.
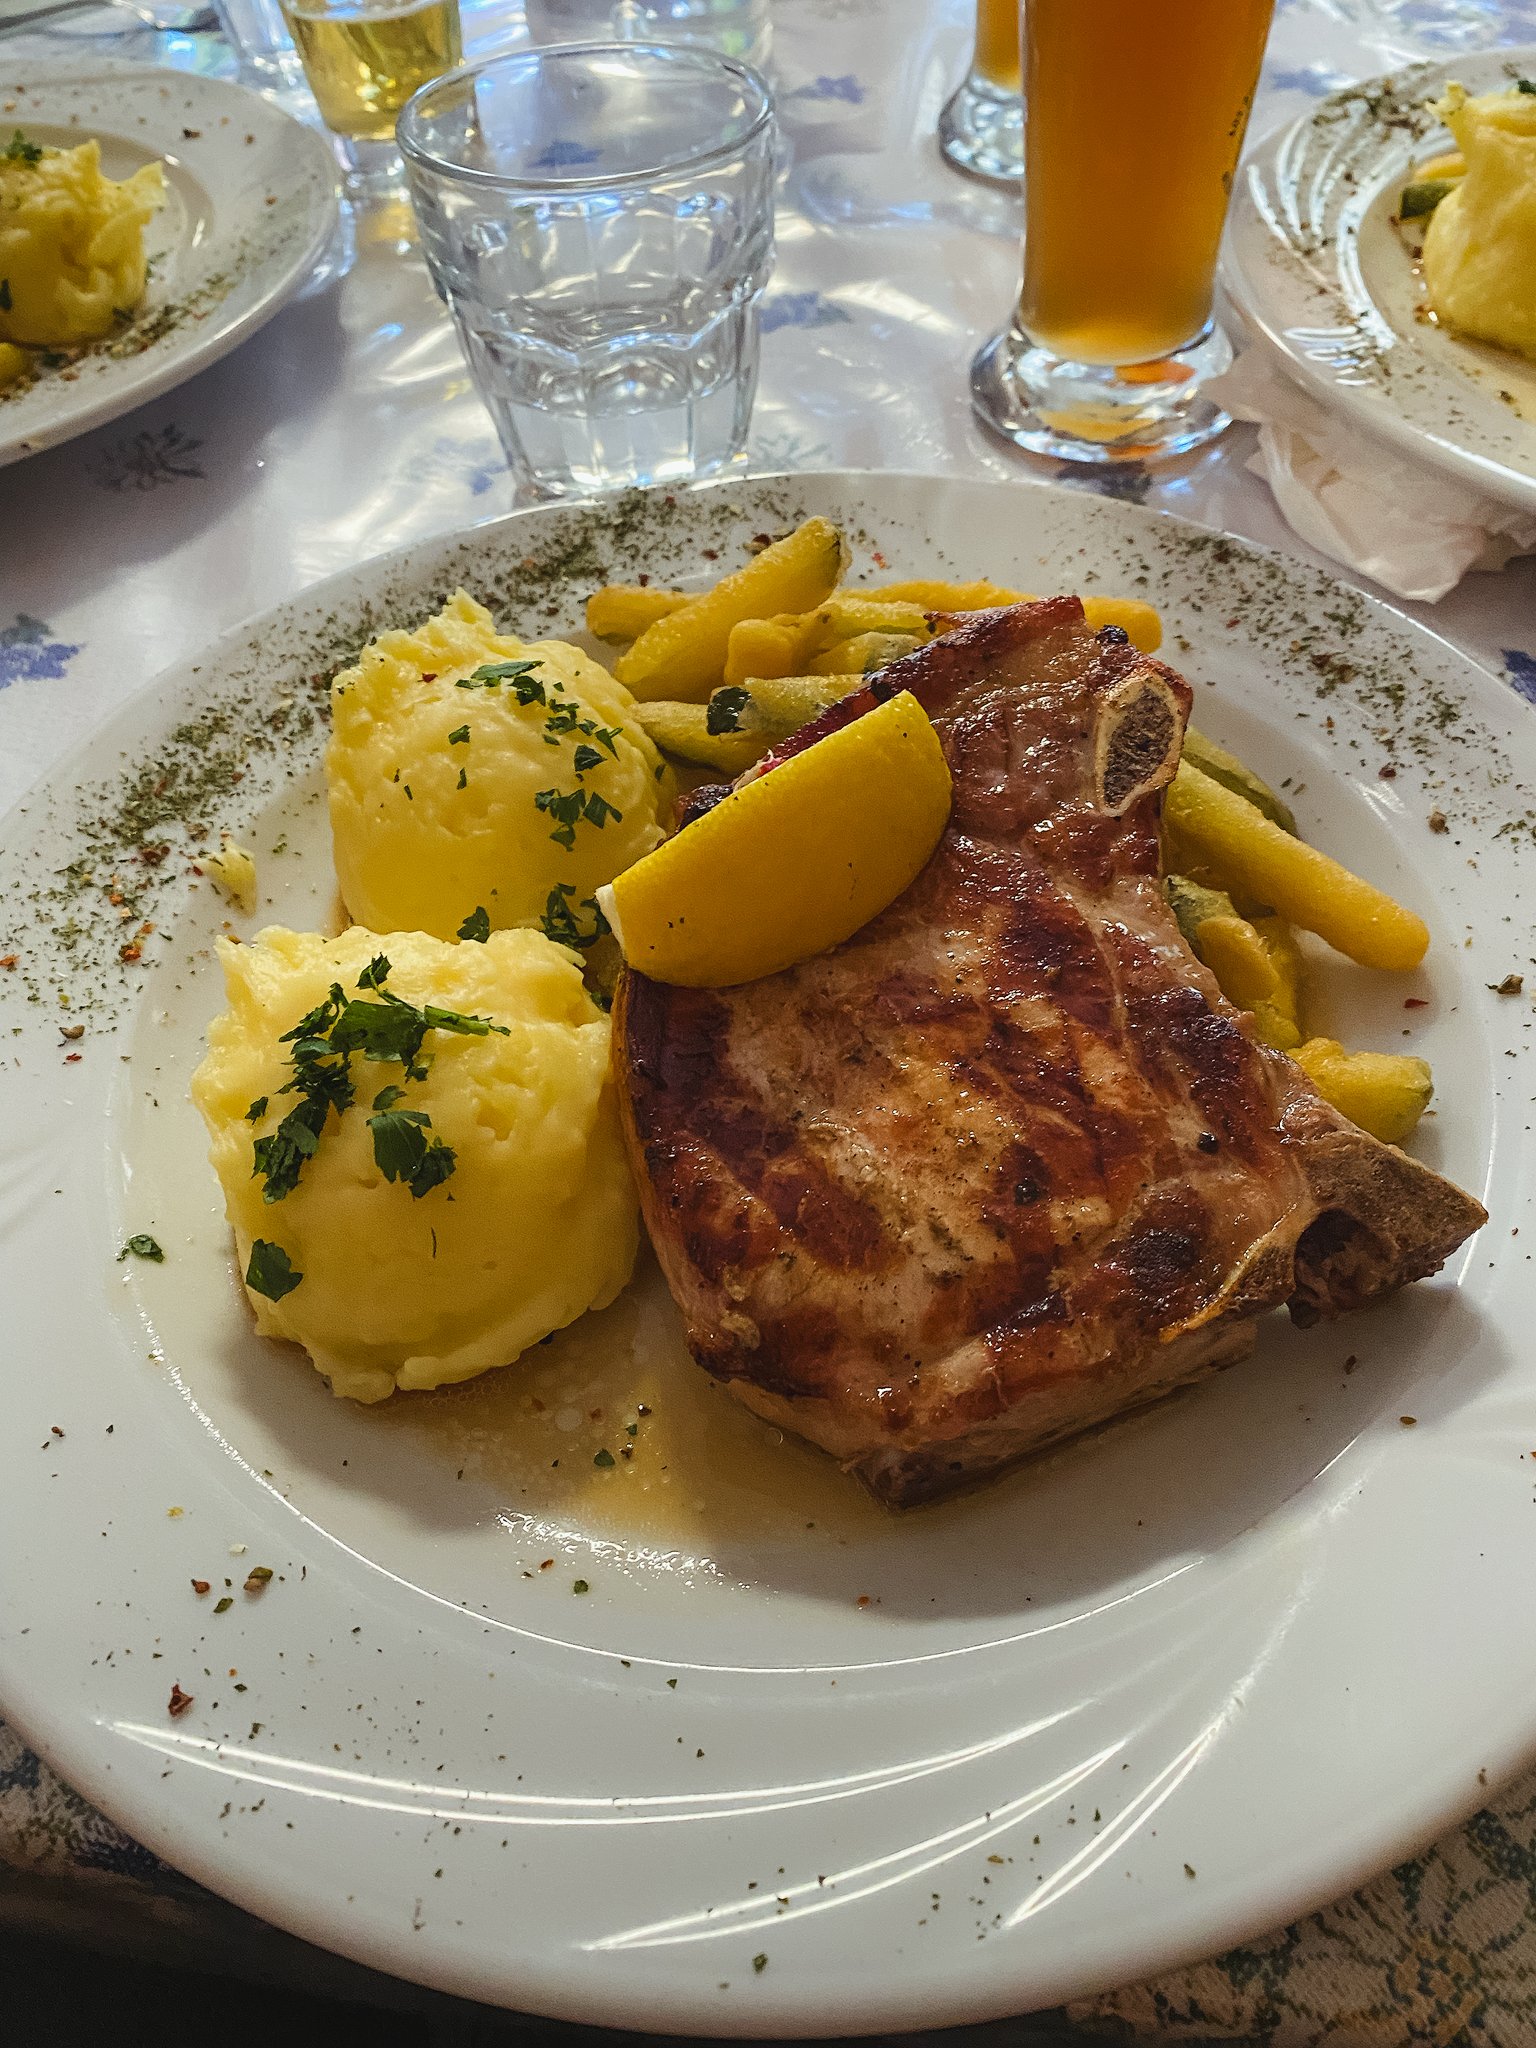
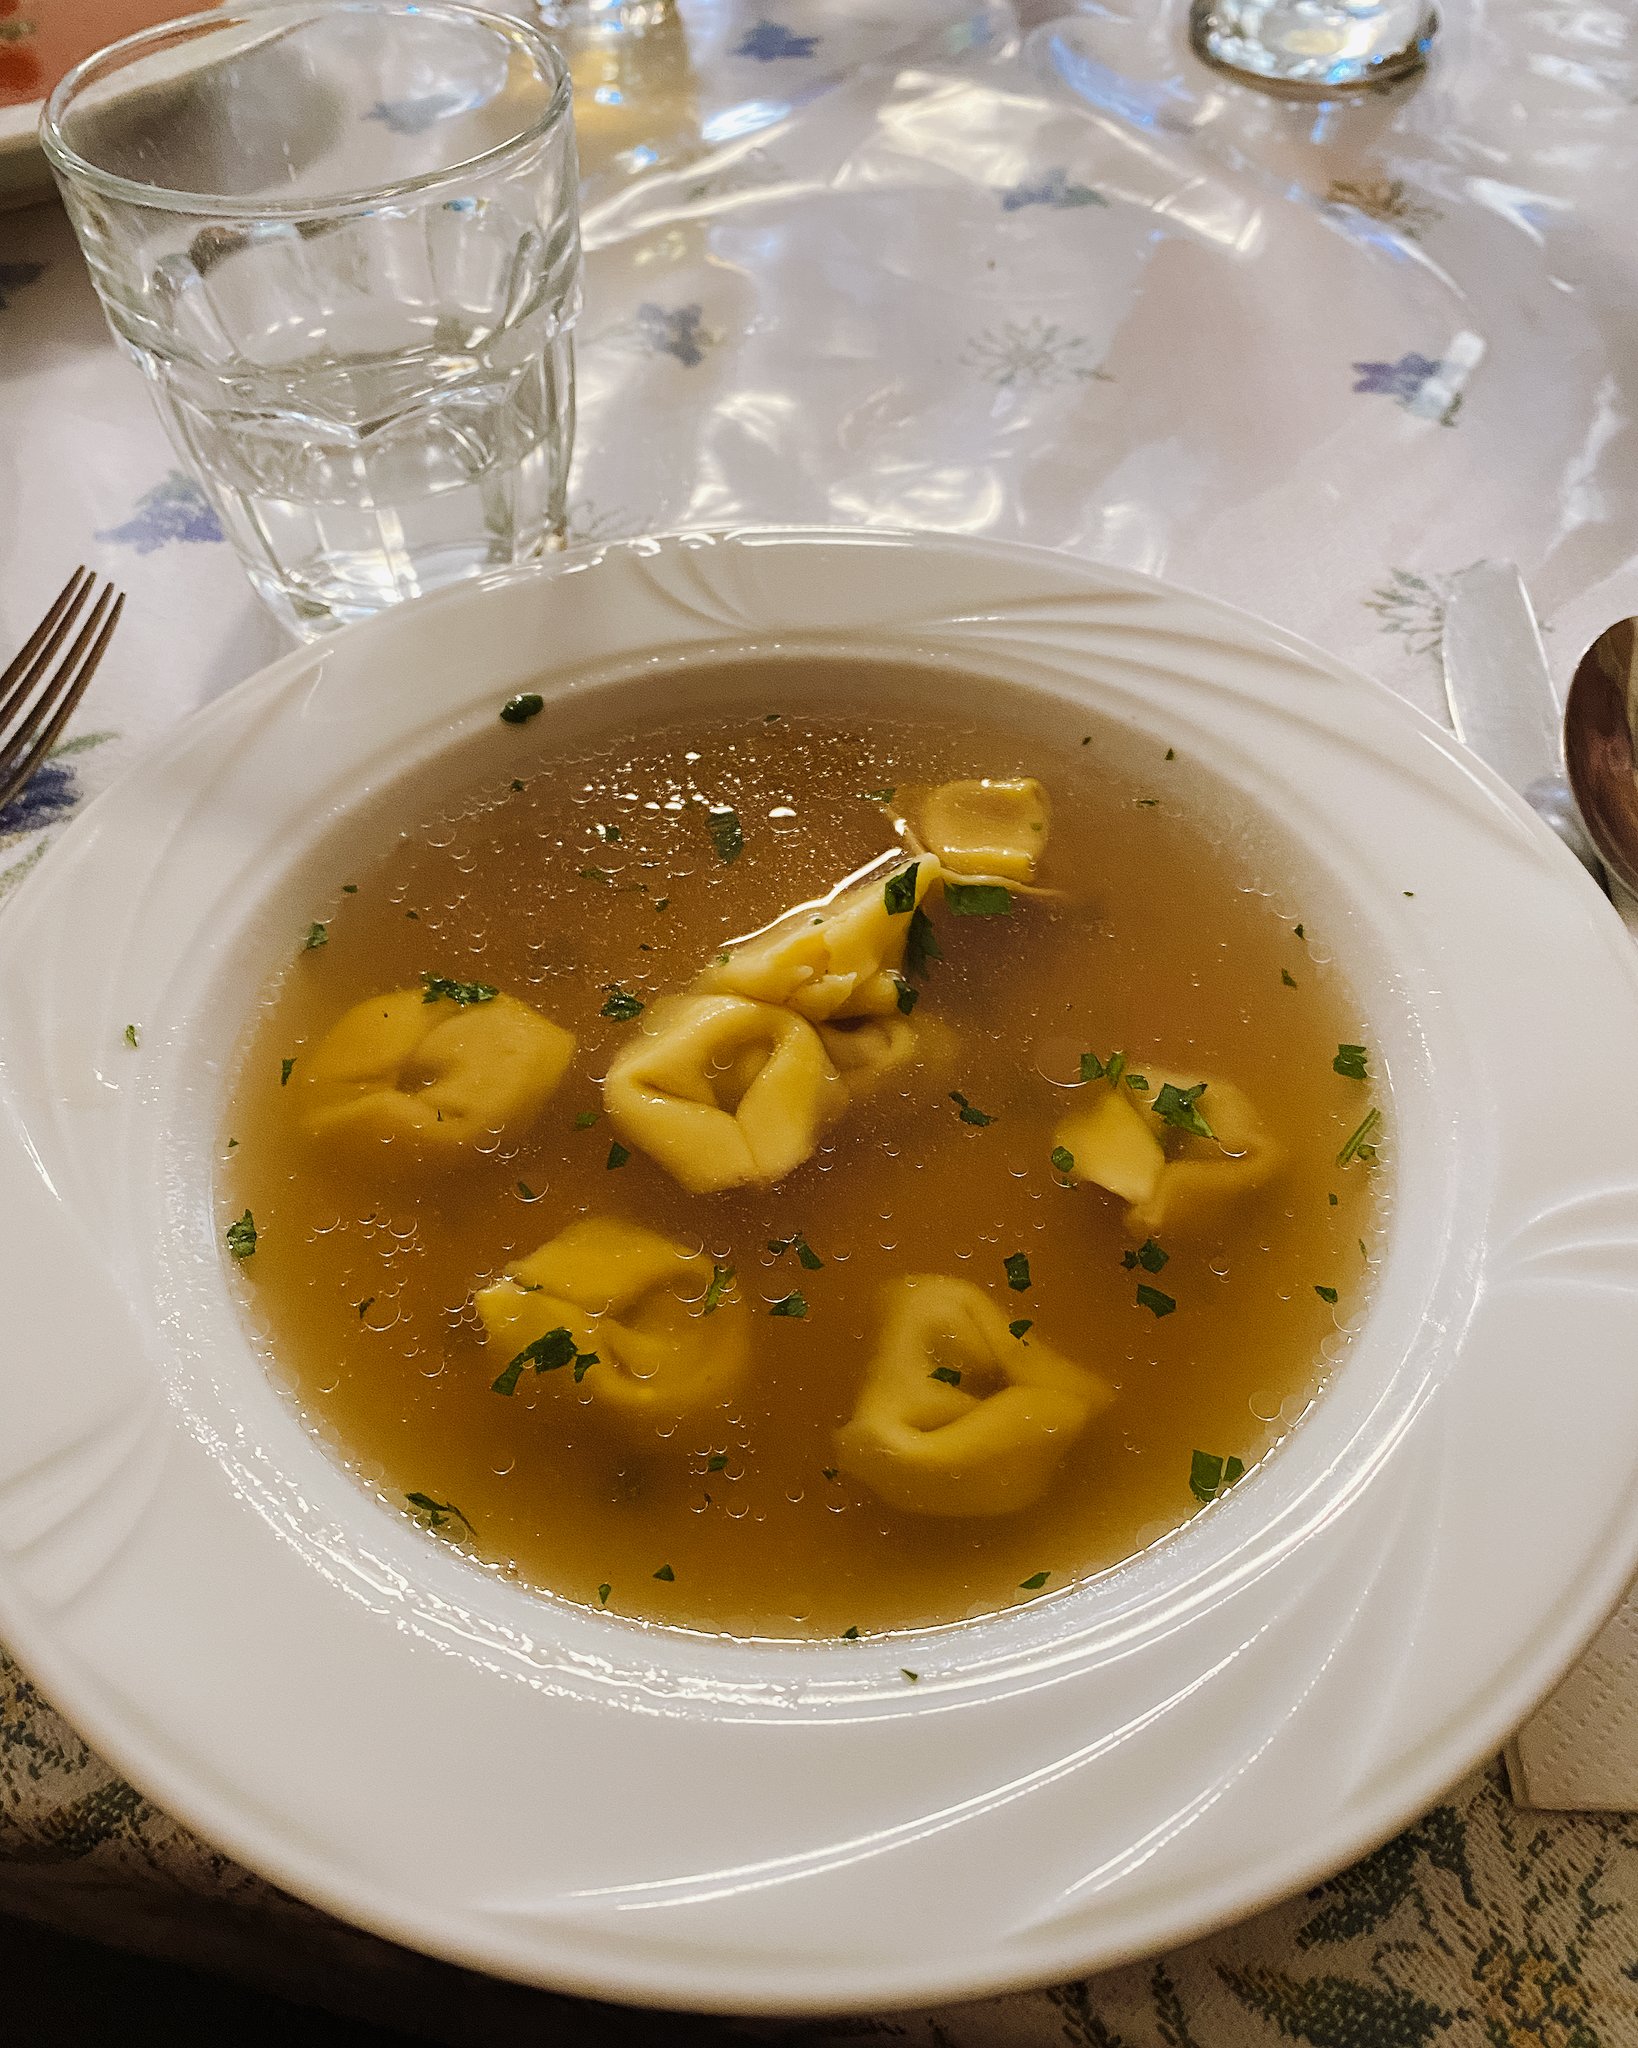
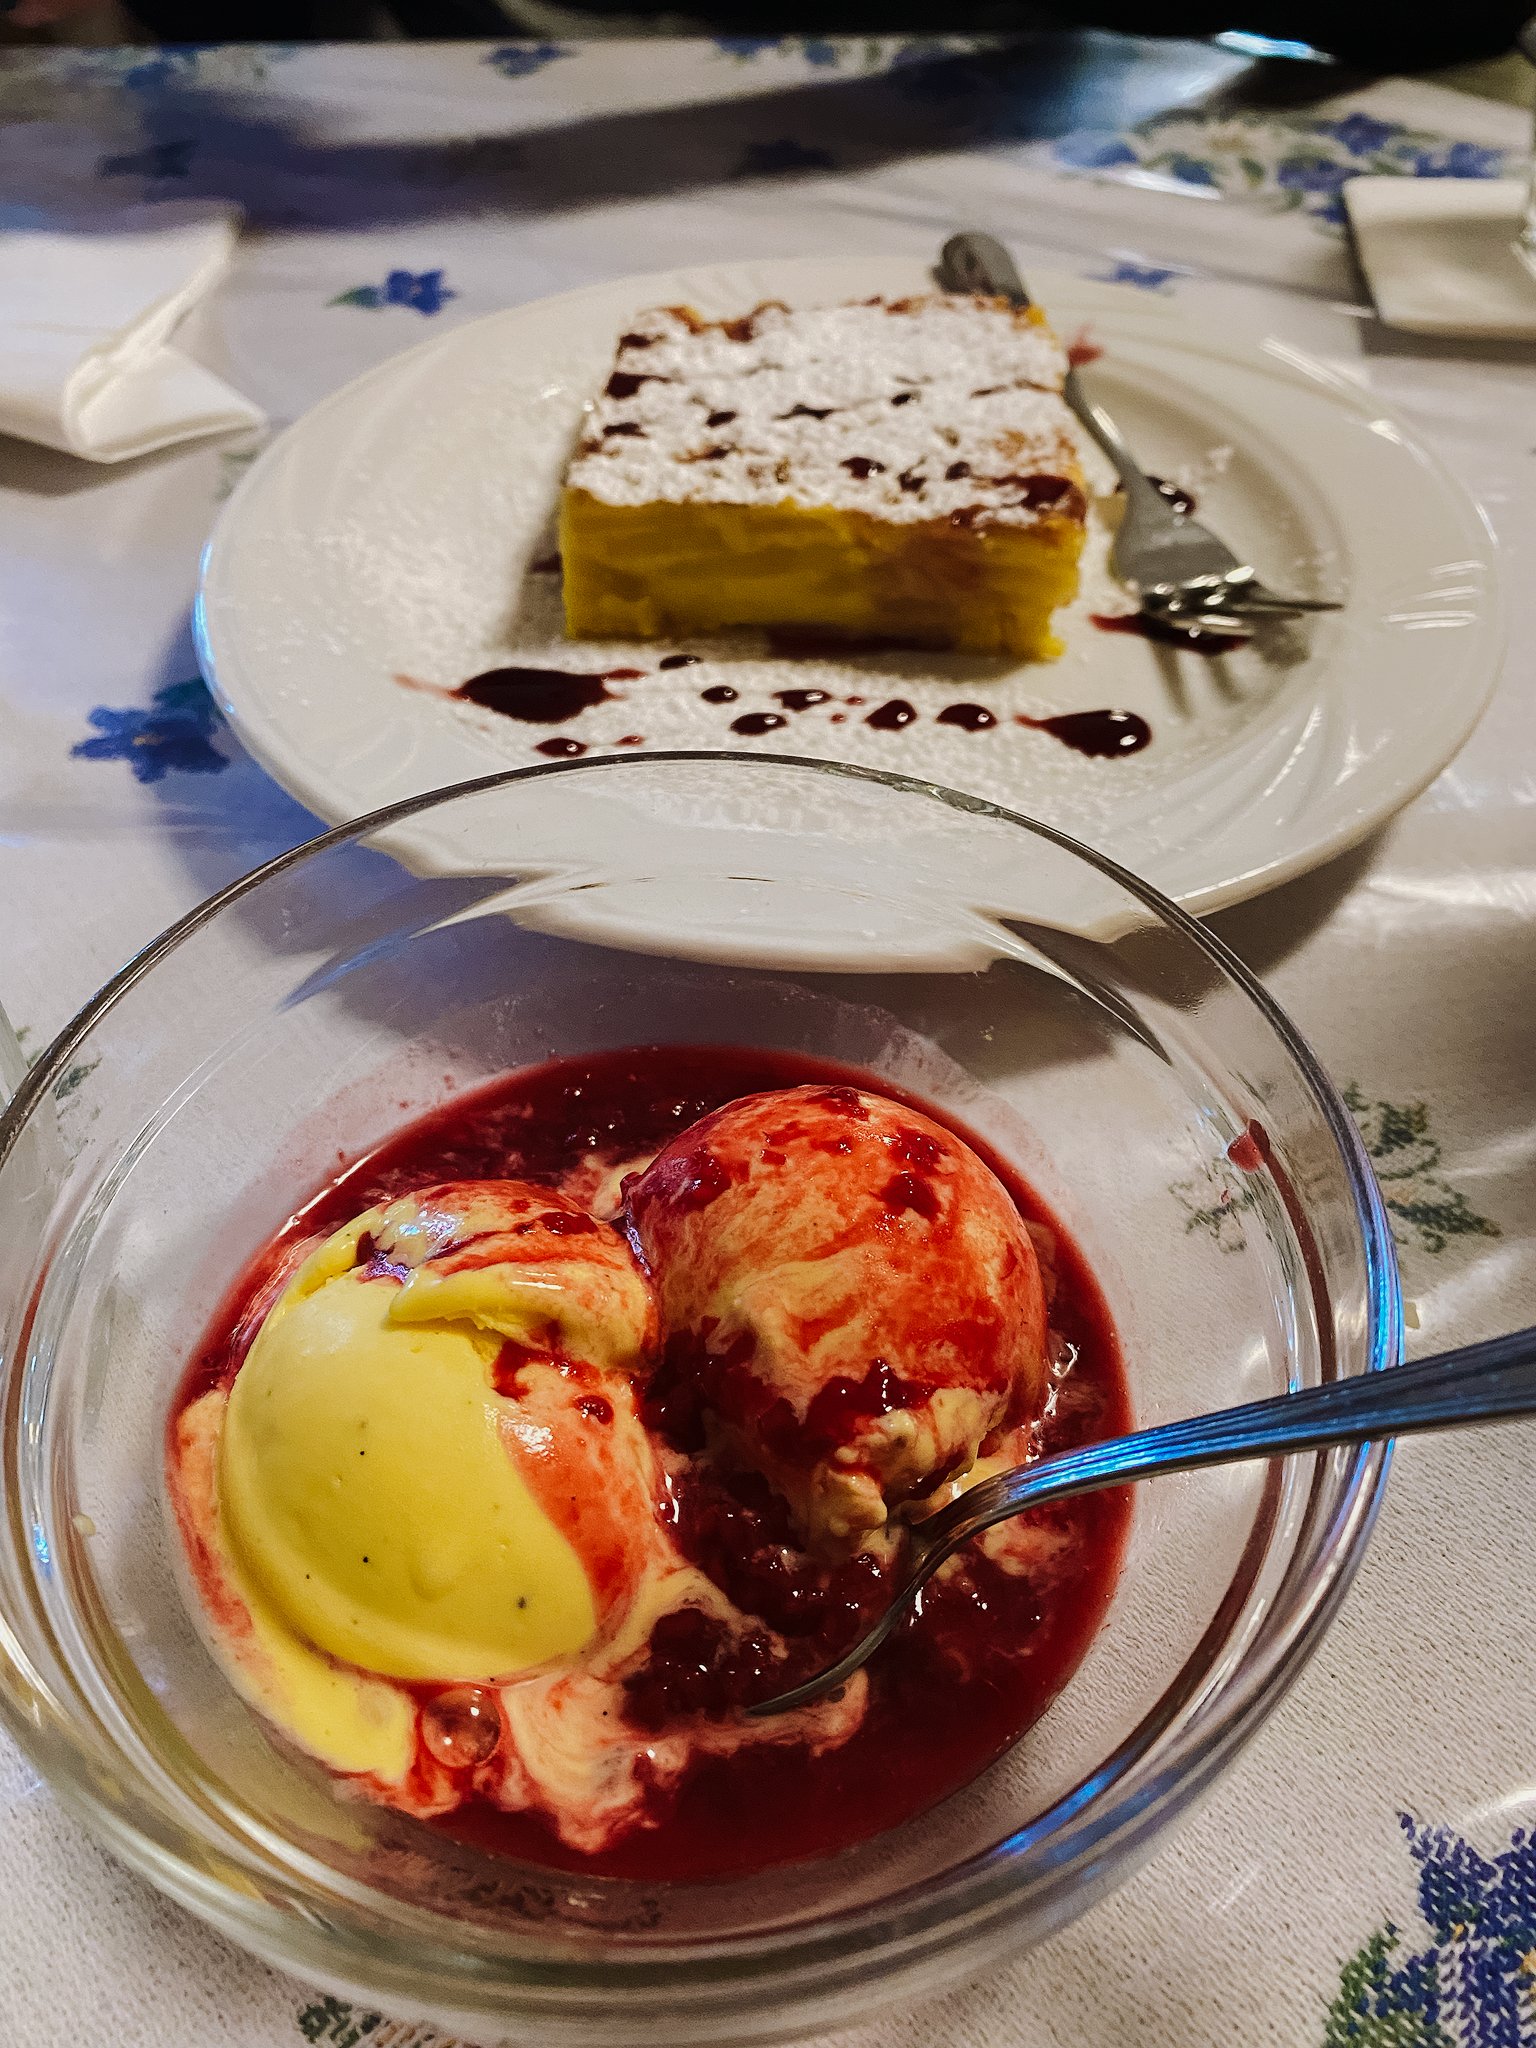
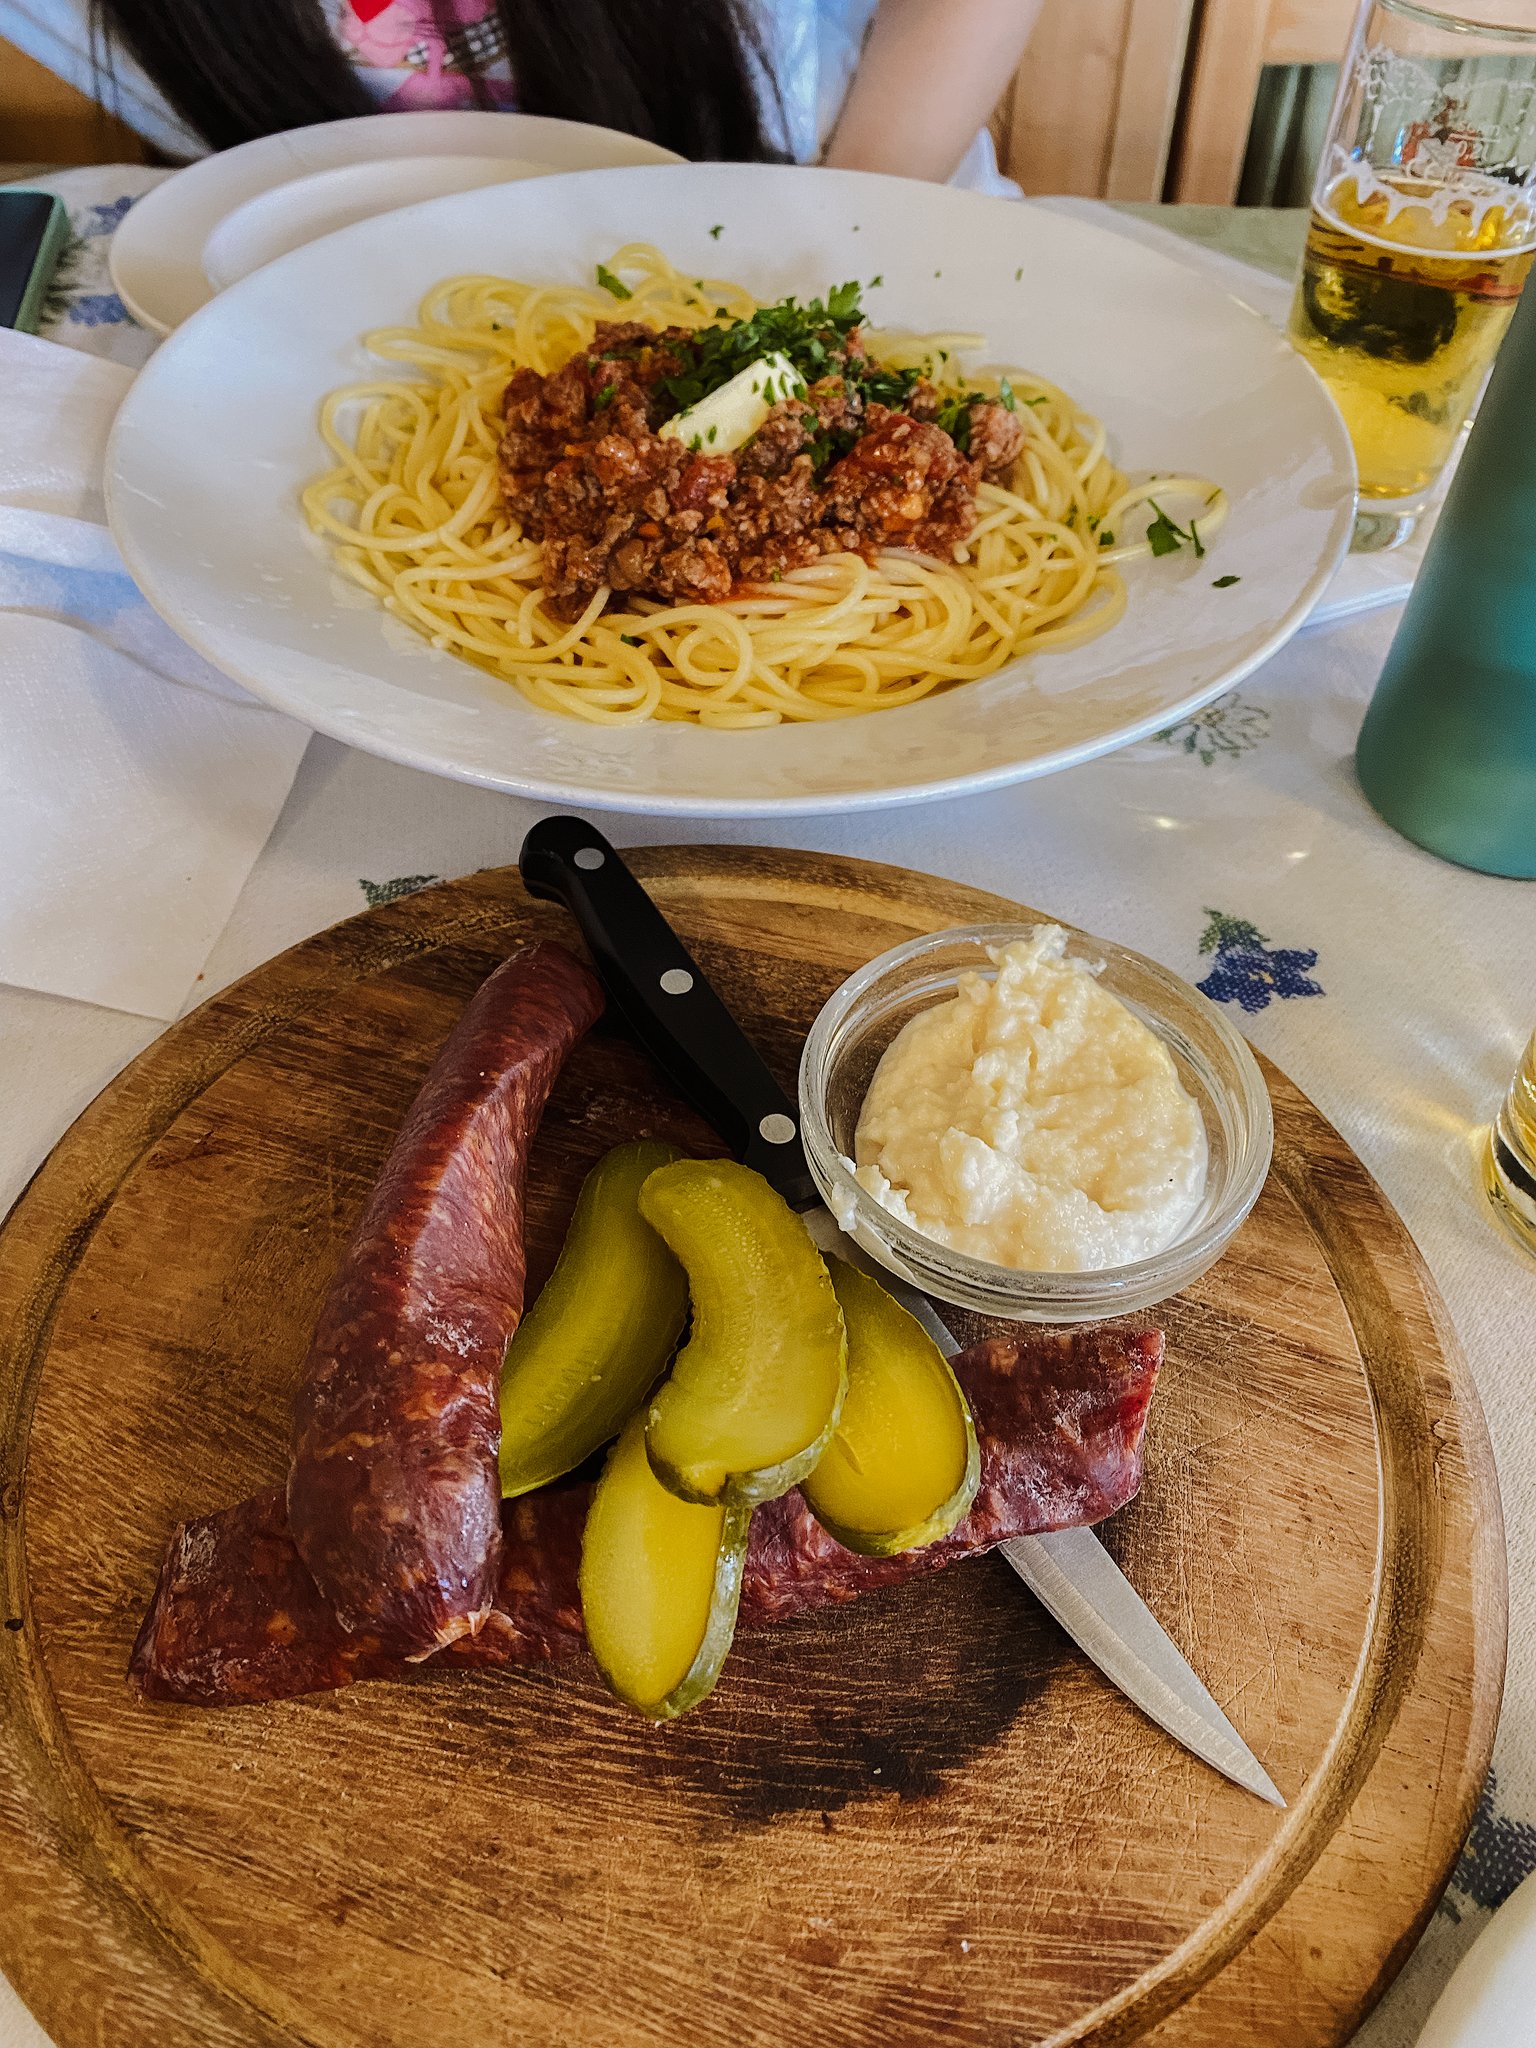
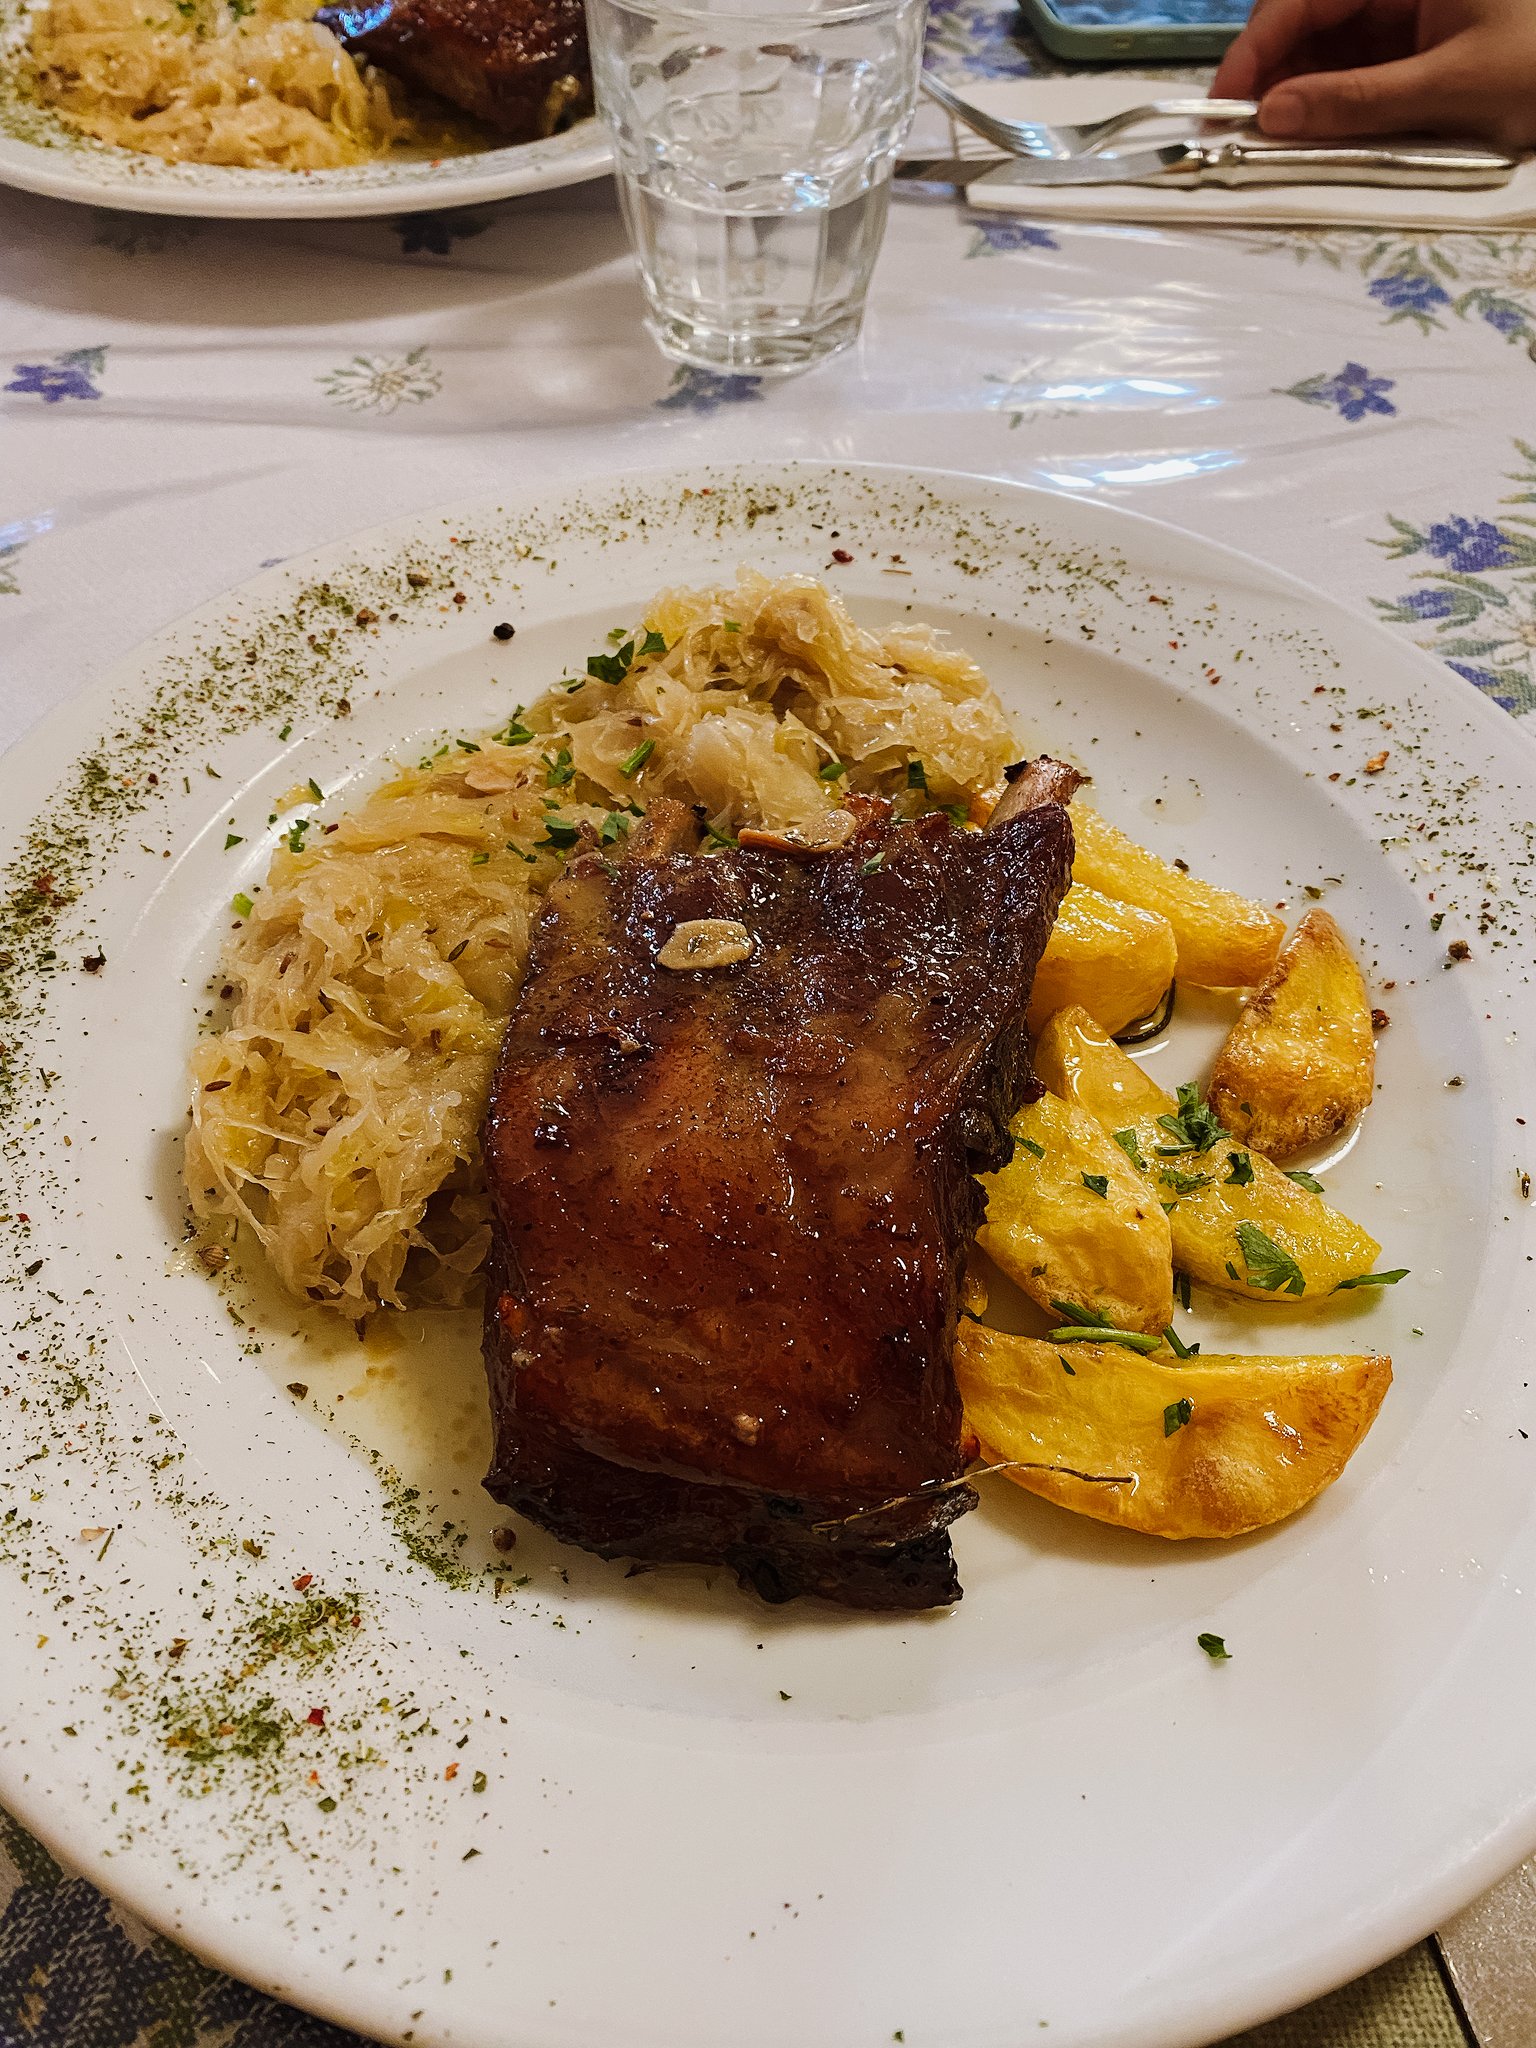
Upon reaching the hut we checked in and did the first right thing to do in this case. EAT! There was no surprise as I visited the Dolomites before and I knew that the food would be exquisite. If you think that a mountain hut can’t have great food, you’re soooo wrong.
The plan and the image
Full of energy, I was ready to complete my project. A milky way shot from Grotta delle Tre Cime. This is a good point to mention that the Dolomites are very tricky weather-wise. It’s very unusual to get 100% clear skies during August. Sometimes it can be raining for a week. That was not the case that night as the prediction was showing almost perfectly clear skies.
Grotta delle Tre Cime is a landmark just 150m from the refuge. A small cave that was used during WW1 by the Italian army forces. The viewpoint aims directly at the peaks and the milky way core. Splendid! Below you can see the view from the path towards the cave. From that point and on, I have no BTS shots as I focused entirely on getting that shot.
Making the image
First, let’s talk about tech stuff. The gear I was using was Canon EOS Ra and Sigma 28mm f1.4 lens. Some people prefer to shoot the foreground with f5.6 or even f8 and do super long exposures to get everything in focus and collect enough light. This technique is fine and it works, but I prefer to be quick between my shots to capture other images and not risk any sudden change in the weather. As I told you, the Dolomites are a tricky place and in the mountains, the weather can change quickly.
This is how my RAW files looked for the “cave shot”.

So, as I mentioned, I was using the 28mm which is an exceptional lens even at f1.4 and making a panorama was the obvious and only solution. Every shot is on f1.4. Sky shots at 10sec and foreground shots at 30sec.
The very first shot is focused on the peaks
Then, I shot 12 images for the sky (6662-6673)
Images 6674 and 6675 are for the interior of the cave (6677 is just a peak-focused image just to make sure that I got it right)
After stacking the sky and stitching the final panorama the result was this stunning image:

Shooting at f1.4 gave me the cleanest result without much denoise. Fun fact is that the light on the middle peak was from a climber’s headlamp who was stuck during his ascend. Thankfully, the rescue team helped him to get down the next morning. Recently, I remastered an astro selfie (image below) that I captured after the “cave shot”. Better denoise techniques and added some narrowband data.

f1.4, ISO 3200, 13x10sec (sky), 30sec (foreground)
Difficulties and mistakes
I am more than satisfied with the outcome of this personal project, but I have to address a few things that I missed and could be useful for anyone who will try something similar in the future.
The slightest breeze could create some issues. I tried several times to capture the flowers still, but a small breeze always ruined it. This is something you can’t fight. If there is wind, you’ll have blurry plants or trees.
Focus stack more images. I focused on 3 points. Shooting at f1.4 demanded at least 5 places. See the example below.
1 is for the inner cave
2 is for the outer cave and the path
3 is for the flowers
4 is for the peaks and the ground beneath them
5 is for the sky

I was surprised that even through goal of the project was the cave shot, I managed to capture (in my opinion) my best image. It happened just at the time I was about to descend to the hut. As soon as I was out of the cave, I saw that panoramic view and fell in love instantly. Without trackers, multi-shots, stacking etc, I captured my favourite panorama of all time. That image won 1st place in the Light Pollution category of the International Dark Sky Association contest. I remember showing the final edit to Sofia and she replied “It looks like a Disney fairytale” and I nodded “Yes”. The combination of the wild airglow, the coming clouds and the light paint by Rifugio Locatelli, made the whole scene really special.

Epilogue
I really enjoyed writing this post explaining the story behind that impactful image. I believe that in an era full of social media, sharing the experience in detail allows your audience to enjoy the image much more and hopefully inspire them to embark on a similar adventure and make memories of their own.
See you in the next story. Stay well and clear skies! 🔭