Must-have astro lenses
As a Sigma ambassador, I have the pleasure to test any lens and provide people with helpful information. I always aim to create an honest review of any gear and my opinion is not biased by collaboration terms. I wanted to make this post for a long time, but back-to-back projects just didn’t let me to. So, today we’re gonna talk about two great lenses for astro, the Sigma 14mm f1.8 and Sigma 40mm f1.4 from Sigma’s Art Series.

Cases of use
Anybody can ask, “Why do I need any of these lenses?”
In astrophotography and low-light photography in general, we want very “bright” lenses to capture a lot of light in limited exposure times. This means that f2.8 sometimes is not enough and we need a faster lens at f2, f1.8 or even f1.4. These wide apertures are mainly characteristic of prime lenses, which are also very sharp as they have fewer moving elements inside.
I use the 14mm for almost all kinds of stuff like timelapses, single frames, and panoramas. Its ultra wide-focal length is great for any use. On the other hand, the 40mm it’s a special one and I tend to use it only for creating high-res panoramas. That doesn’t mean that you can’t create good images at 40mm, but you’ll be forced to create mini-panoramas to get many elements inside your final photo.
Performance quality
Unfortunately, very wide apertures come to a cost: poor performance. When the iris of a lens is wide open, it suffers from aberrations and vignetting (dark corners). In astrophotography, we can test any lens’s performance as the task is challenging…To render small dots of light (the stars). Here is an example of some well-known aberrations in the photography world. You can read more about lens aberrations in a beautiful article by Lonely Speck.


Build quality
Both lenses share the remarkable material quality of the Sigma Art lineup along with being weather-sealed. The plastic parts are very durable and the focus rings have a precise drive along the way. However, having a max aperture of 1.4 comes at a cost in terms of weight. The 14mm comes at 1170 g and the 40mm at the mind-boggling 1200g. If you are a backpacker who wants to hike with many lenses and cameras, these lenses are not lightweight. For me, that’s the only big disadvantage of both lenses.
Real-world examples (only RAW with WB adjusted)
Let’s see how the lenses perform in the real world. The past summer I had the chance to test both lenses in all environments during my workshops, from the chilly Greek mountains and plateaus to the dry and mesmerizing Canary Islands. Don’t forget to sign up for our newsletter (scroll to the bottom of the page) and learn first about the upcoming workshops.
First, the Sigma 14mm f1.8
Tip: to achieve perfect focus on this lens it’s good to focus somewhere between the center and the corner. In that way, most of the image area will be very sharp. Otherwise, if you focus on the centre, you’ll get perfect centre sharpness, but the corners will be bad.
The right aperture to start is f/1.8, as it will be the brightest, but also the worst due to the aberrations we explained before. In the example below, I used a shutter speed of 15 sec (lower than expected) as La Palma is closer to the equator, so the relative speed of Earth is higher. The first thing you will notice is the bad vignetting, which is expected at wide apertures like this. By using Lightroom’s or Camera Raw lens correction, we get an even sky with minimal vignetting and almost half a stop of exposure (see the histogram below).


Now let’s check the corners and the center of the frame. At f1.8 it appears that we have astigmatism on the corners and a bit of blue chromatic aberration around the stars.
Let’s test an all-sky frame at f1.8 and check the extreme corners again.


The overall performance is great having in mind that this is f1.8 on a super wide angle lens. Despite the partial chromatic aberrations, the stars maintain their color.
If you want to vastly improve the optical performance of this lens (and any lens) it’s good to step down a bit. I chose to shoot the following image at f2.2.
Let’s check the top corners and the center sharpness of the image.

Astigmatism is almost gone with having a bit of CA. Even by using a fog filter to make bright stars bigger, you can see that the image is very sharp.
Here are some images caught with the Sigma 14mm f1.8 on Canon EOS Ra.

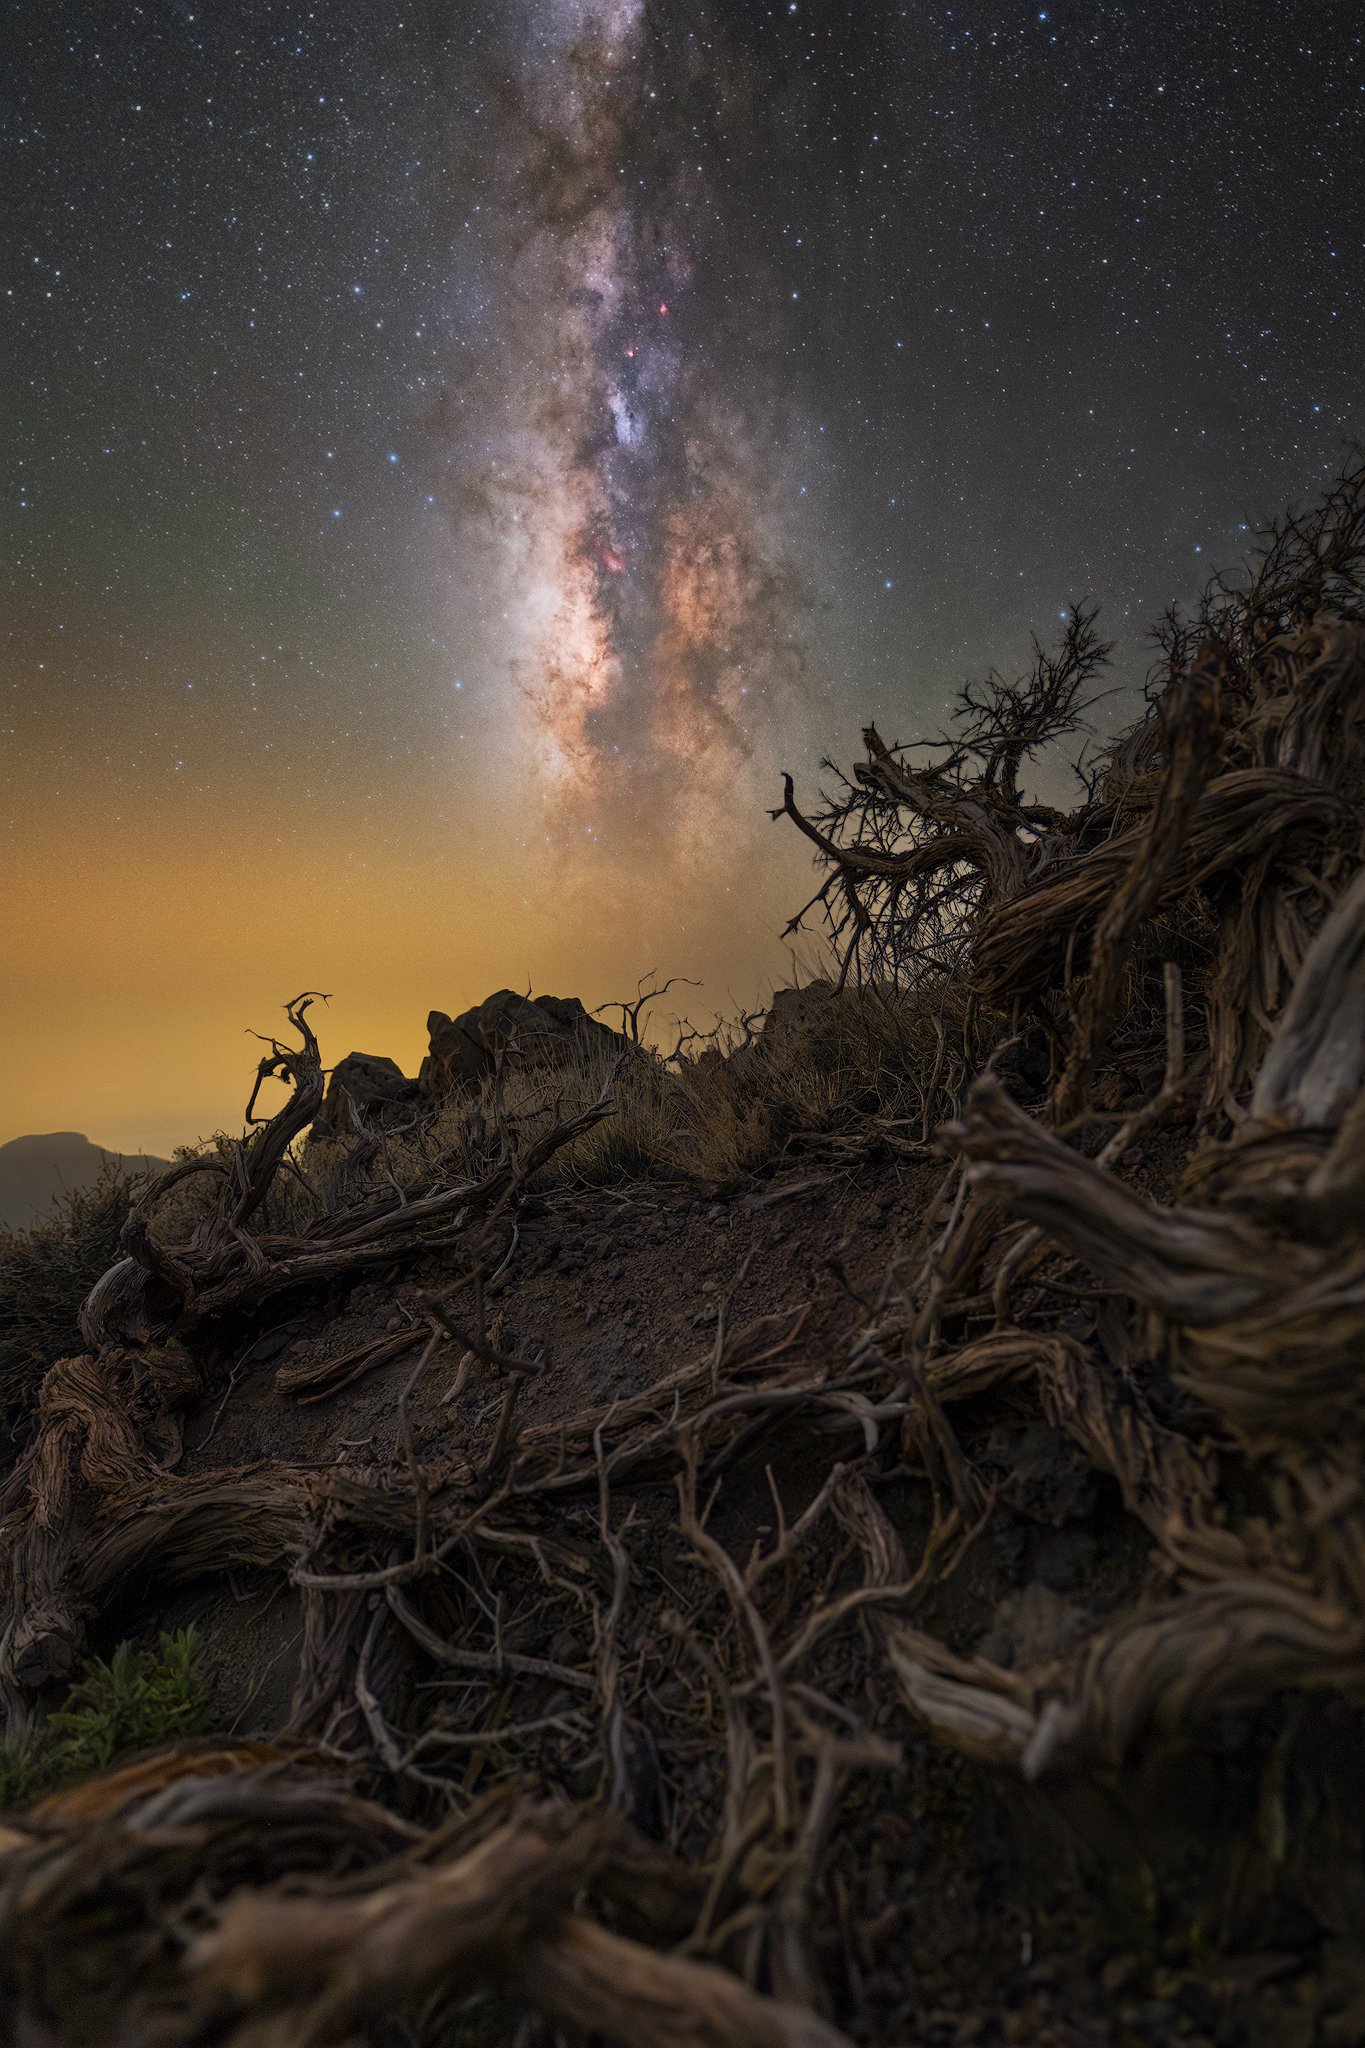


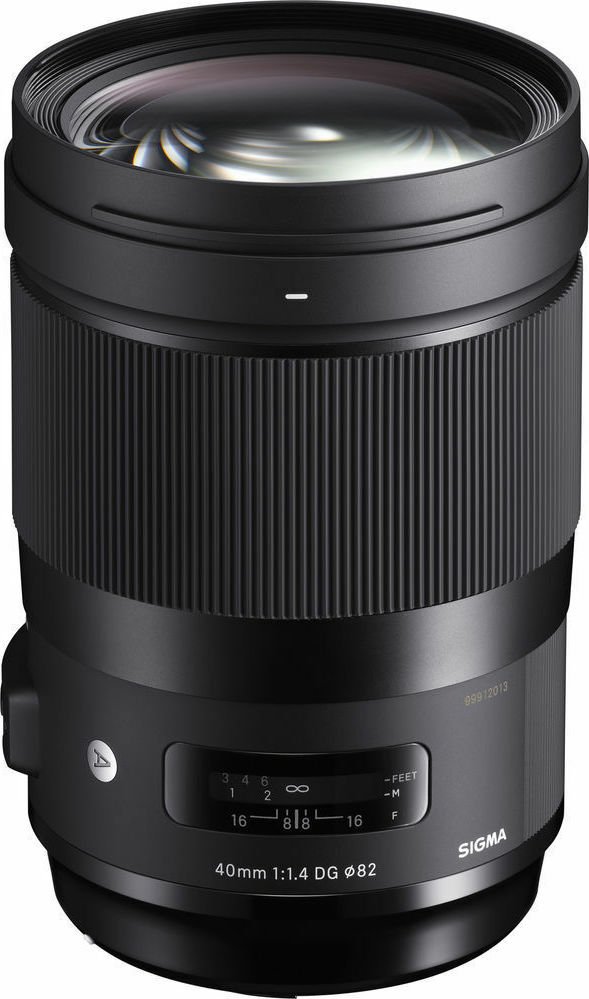
Now it’s Sigma 40mm f1.4 turn
Let’s see how well this lens performs on various apertures. All images are RAW and only White Balanced with exposure adjusted to share the same brightness. They are shot with Canon EOS Ra and tracked on ISO800, 30sec.
Even at f1.4, the lens excels with minor aberrations. As seen, the widest aperture suffers from vignetting, but not something that auto-correction can’t handle.
Don’t forget to click on the images to view in full screen!


Let’s take a close look at the corners and center of each image.


The corners appear to be almost aberration-free, making the lens’ performance outstanding at 1.4. However, we noticed that the top right corner of this image (it’s really bottom right due to camera orientation) suffered from a bit of elongated stars. But, we’re pixel-peeping here!
The centre of the image becomes CA-free at 1.8. It’s important to mention that stars maintain their colour throughout all the apertures.
Conclusion
Both lenses are great for astrophotographers. They perform great with a few aberrations as expected. The only disadvantage I can see is the weight of both the 14mm and 40mm. Also, especially on the 14mm, you should be careful with your focus and find a sweet spot as described above to get the best result. Lastly, the 40mm is for more experienced photographers with a tracker that can create astro-panoramas of 180° or 360° in mind-blowing detail.
I hope that you found this article informative. If you have any questions, please drop a comment below.
Stay well and clear skies🔭